ALTERNATOR PULLEY REMOVAL AND INSTALLATION INSTRUCTIONS,
Posted by Jay Johnson on May 12th 2022
ALTERNATOR PULLEY REMOVAL AND INSTALLATION INSTRUCTIONS, WHAT YOU SHOULD KNOW
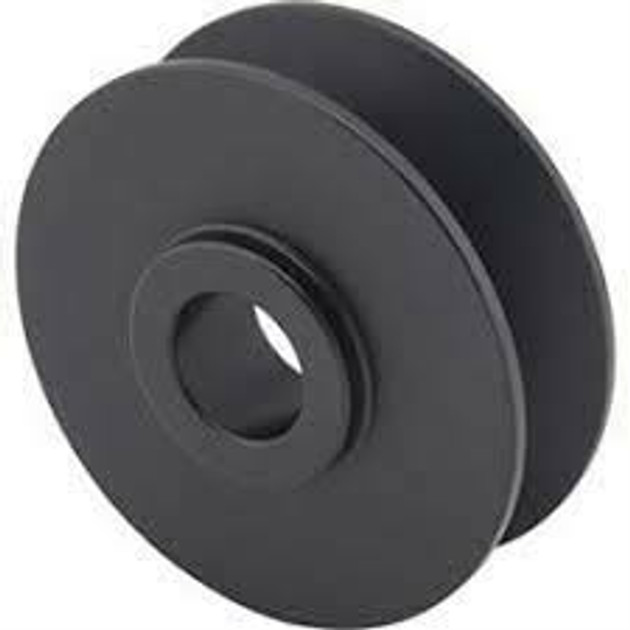
Pulley Removal and Installation for Alternators with External and Internal fans:
It is recommended that protective glove and eyewear
be used for this task.
1. To remove the alternator pulley, use a 1/2" Drive impact wrench to loosen the nut.
Most automotive Alternator pulleys use a 15/16 socket. Hold the alternator pulley firmly with your hand to keep from spinning while removing the nut.
You should use a rag or heavy glove when holding the pulley, alternators with external fans can rip up
your hand pretty good if the fan is allowed to spin while removing the pulley.
The pulley nut uses standard right-hand threads, rotate in a counter-clockwise
direction for removal as looking at the front of the alternator.
2. Alternator pulleys do not have a key and should be a slip fit. Install the new pulley, lock washer, and nut by hand.
3. Holding the pulley from spinning tighten the nut with an impact wrench until nut is tight (about 70 ft-lbs).
Note: if installing 3/4" pulleys you may need to use a little locktite on the threads due to the alternator shaft is only so long and may not be able to get a lock washer under the nut.
Vintage Auto Garage sells 3/8" 1/2" 5/8" 3/4" pulleys click here